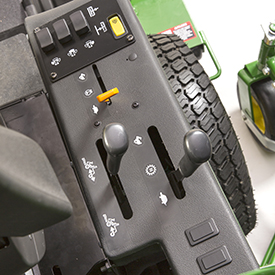
 Control console
Low-effort controls are conveniently grouped on the right-hand side.
The finger-touch controls are:
- Left mower deck lift/lower switch
- Front mower deck lift/lower switch
- Right mower deck lift/lower switch
- Electronically-controlled throttle lever
- Electronically-activated power take-off (PTO) switch
- Speed-range lever for high, neutral, and low range
- Four-wheel drive (4WD) lever
Hydrostatic power steering
- Makes it easy to turn the machine, reducing operator fatigue
- Allows quick steering action, two and a half turns lock-to-lock, for excellent maneuverability
Two-pedal foot controls
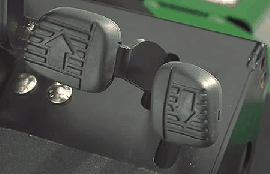 Two-pedal foot controls
- Convenient two-pedal hydrostatic control system
- Allows the operator to select speed and direction with just a touch of the toe while resting heel on platform
- Twin Touch™ pedal design that allows the operator to change direction without having to lift his foot off the platform
- Large pedal surface, which provides increased operator comfort
- Keeps both hands free for steering and operating controls
Standard turning brakes
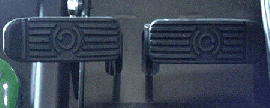 Standard turning brakes
The individual brakes can be applied by the operator as a traction aid or to reduce the turning radius.
Master stop brake
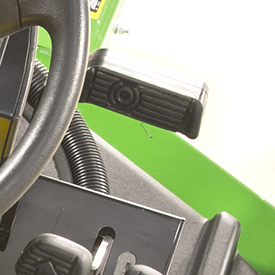 Master stop brake
Differential lock
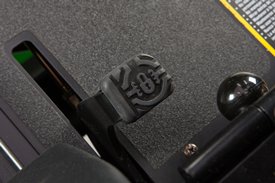 Differential lock
- Locks both front drive wheels together for added traction
- Increases traction and flotation in poor traction conditions
The differential lock is located on the left side of the platform; this allows for easy use of the Twin Touch foot pedals (on the right side) while engaging the differential lock at the same time.
High/low range lever
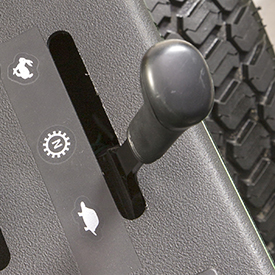 High-/low range lever
- The high-/low range lever allows the operator to select the desired speed range.
- The machine must be stopped to shift between ranges.
- Shifting to the neutral position allows the operator to by-pass the hydraulic drive for towing.
4WD lever
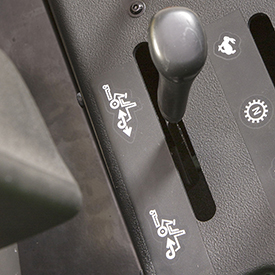 4WD lever
- The 4WD lever allows the operator to engage 4WD in reverse. 4WD is automatically engaged when wheel slip occurs in forward drive.
Electronic cruise control
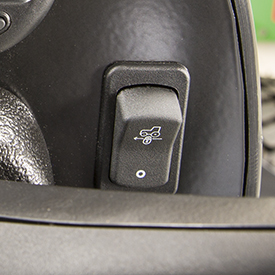 Electronic cruise control
- Beneficial when mowing open areas or when transporting
- Located on the steering column
Cruise control operation
- To engage, simply push forward on the cruise control switch and hold until the foot is removed from the forward pedal.
- For an emergency stop, cruise can be released by pushing on the master brake pedal or turning the cruise control switch off.
Easy-to-view operator instrumentation
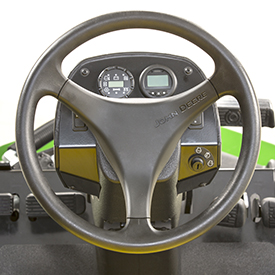 Instrumentation from seat
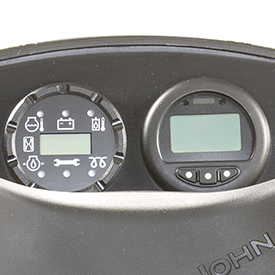 Instrumentation panel
Tilt steering
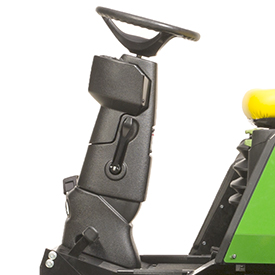 Tilt steering
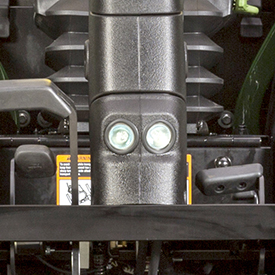 Headlights
- Allows the operator to adjust the steering column to the most comfortable position and provides additional clearance for entry to the operator station
- Two standard 20-W halogen headlights are located low in the column for the best illumination
Optional light-emitting diode (LED) road light, beacon light, and work light attachments
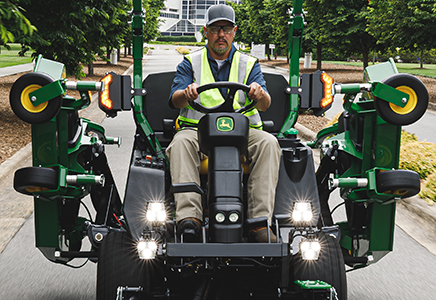 LED road and work lights
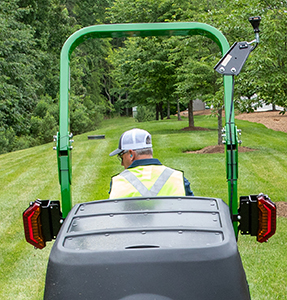 LED road and breakaway beacon lights
The road, beacon, and work light attachments are available in LED designs.
- BUC11407 breakaway LED beacon light kit is short to avoid damage.
- BUC11408 LED work light kit includes four front-mounted LED work lights.
- BUC11543 LED road light kit includes turn signals, warning flashers, taillights, mounting brackets, wiring harness, and turn signal switch. BUC11543 requires BUC11408 LED work light.
- BUC11407, BUC11408, and BUC11543 are compatible with model year 2018 and newer (serial number 500,001-) wide-area mowers.
Mower deck lift switches
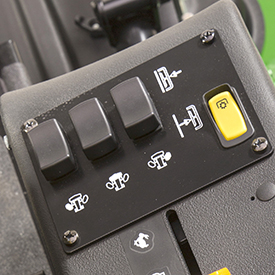 Mower deck lift switches
The mower deck switches allow the operator to vary mowing widths, engage and disengage the wing-deck blades, and service and transport the machine.
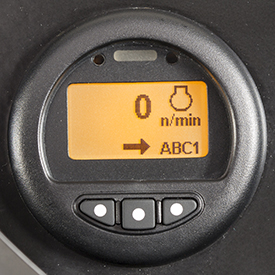 Engine rpm screen
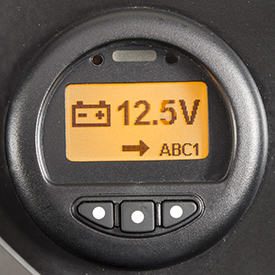 System voltage screen
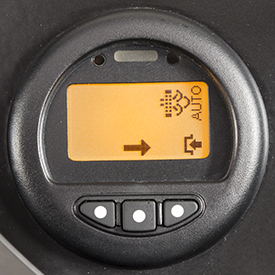 Diesel particulate filter screen
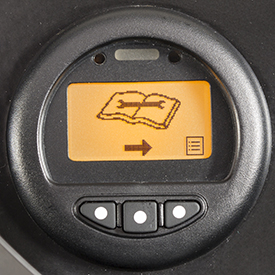 Service menu screen
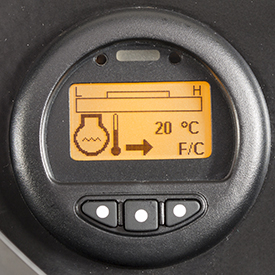 Engine coolant temperature screen
An instrument panel is located on the steering column for both operator convenience and safety.
Instrumentation includes:
Hour meter
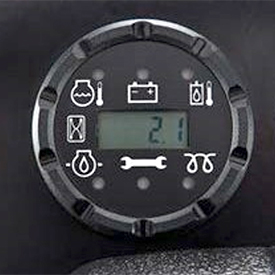 Hour meter
- Located on the steering column for easy viewing
- Records the number of hours the engine has run
- Used along with the periodic service chart (located in the engine compartment) to determine when service procedures need to be performed on the machine and mower deck
Engine glow plug light
The engine glow plug light indicates the intake manifold heater is energized. The operator should wait until the glow plug light goes off before starting the engine.
- The manifold heater is controlled by a temperature-sensitive timer and turns off sooner in warm weather.
- Starting the engine before the indicator turns off wastes fuel, creates smoke, and puts unnecessary wear on the starter.
- If the starter does not engage when the key switch is turned to the start position, one of the start conditions has not been met. Trouble codes are presented as a sequence of flashes and pauses that must be counted and converted to a two digit number:
- One flash, a short pause, and two flashes – operator attempted to start the machine without the park brake locked and the operator is off of the seat (one of these conditions must be met for the starter to engage).
- One flash, a short pause, and three flashes – operator attempted to start the machine with the power take-off (PTO) engaged.
- Two flashes, a short pause, and one flash – hydrostatic pedals are not centered in the neutral position.
Engine coolant temperature light
The engine coolant temperature light indicates the engine is overheating. A warning beeper also sounds when the light comes on.
Engine oil pressure light
The engine oil pressure light indicates the engine oil pressure is low. The indicator should be lit as a test to make sure it is working when the key switch is turned to the run position. A warning beeper sounds when the light comes on. The light (and beeper) should go off once the engine starts.
Battery discharge light
The battery discharge light indicates the battery is not getting enough charge from the alternator. The light should come on when the key switch is turned from off to run. The light should go off once the engine starts.
Primary display unit (PDU) navigation
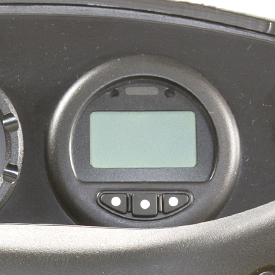 Primary display unit
The PDU utilizes three buttons for navigation.
The display’s top-level screens can be cycled through by pressing the center button.
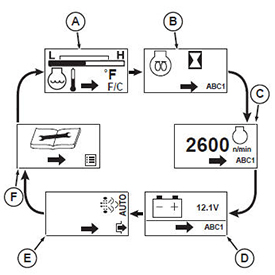 Operator screens
Top level screen functions are as follows:
A - Engine coolant temperature (ECT) screen
B - Pre-heat countdown (HPH) screen
C - Engine rpm (erpm) screen
D - System voltage (SV) screen
E - Diesel particulate filter (DPF) screen
F - Service menu (IServ) screen
The top-level screens are shown in order of display. To navigate to next top-level screen, press the center button on the PDU. For more information on the different functions, please refer to the machine’s operator’s manual.
Tool tray and cup holder for operator convenience
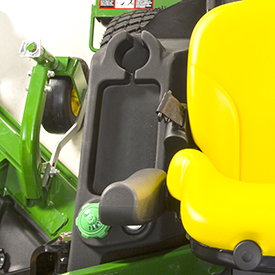 Tool tray and cup holder
Tool tray and cup holder are convenient for the operator to get to:
- Quick access to a drink and tools on the machine decreases downtime.
Power take-off (PTO) drive provides control and power
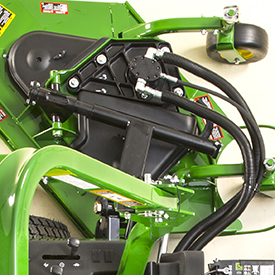 Hydraulic PTO drive
Mower decks are hydraulically driven using a separate closed-loop system with one gear-type motor for each deck:
- Mowers are designed to provide increased torque to the decks for additional power and productivity in tough mowing conditions.
- The operator can raise one or both of the wing decks and all hydraulic power will be directed to the center deck (exclusive John Deere feature) to provide maximum hydraulic pressure for extreme conditions.
- Blades are belt-driven from each deck motor.
Safety starting system
The 1600 Turbo TerrainCut™ Wide-Area Mower (WAM) has an operator-presence system.
In order to start the engine, the following must be met:
- The hydrostatic foot controls must be in neutral.
- The power take-off (PTO) must be disengaged.
- The operator must be in the seat or the parking brake must be set.
- The ignition key must be used.
In addition, once the engine is running, an interlock automatically shuts the engine and PTO off if the operator leaves the seat. To keep the engine running, the operator must disengage the PTO and set the parking brake before dismounting.